I’m not crazy about parsley. When at all possible, I use cilantro. I don’t think the problem is with parsley, it’s just that cilantro is so much better, it makes parsley look bad by comparison. Recently, I wanted to make fresh salsa but the co-op had no cilantro, so (since I had already bought the other ingredients) I had no choice but to get parsley. It turned out okay, but I was left with a huge bunch of parsley that I didn’t want to waste. After consulting Foxy, I decided drying it in the oven would be the best way to preserve it.
First, rinse the parsley. Let it drain. Pre-heat oven to lowest possible (mine was 170 F). Spread out on baking trays. Bake until leafs are dry enough that they crumble in your fingers. I checked on it every 15 minutes and it must have taken at least 40 min, probably at least 60, but unfortunately I was distracted so I lost track. When you open the oven to check, be prepared for an overwhelming parsley scent.
I realized part way through that I should have removed the thick stems, because they take a lot longer to dry and they sort of mess up the whole process by raising the humidity in the oven. Or something.
Sprocket loved the parsley. He was chomping on the leaves and stems and making sure that everything was liberally sprinkled with floof. Lotus thought the parsley was even better than catnip. A few leaves fell on the floor and he was rolling around so happily.
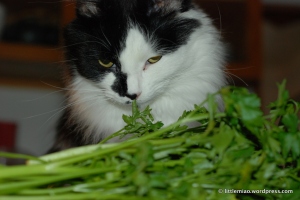
Sprocket examines his parsley
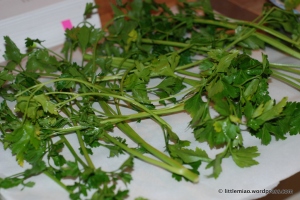
I didn’t have enough baking sheets so my parsley was rather crowded. Removing the stems would have helped. and possibly drying the stems separately, because they shouldn’t be wasted either.